I’ve been slowly working on some basic home automation, tackling minor home projects that involve manual and repetitive steps. One of my core values is that any automation I add to the house must still have a low-fidelity fallback. Obviously operating a light requires power, but you should still be able to turn your lights on/off if the home network is down and in general there’s only a small class of things where automating genuinely saves you time.
I had recently switched my front lights and a couple of key indoor lights over to Lutron Caseta wireless switches, which are awesome btw, and I’m running Home Assistant on a Raspberry Pi that also operates as the family network print server. For this project I wanted to get a different set of lights on the same automation schedule (e.g. turn on at sunset), but these were some inexpensive LED landscape lights that are controlled by a 12VAC transformer/power supply with a rotary timer (the kind where you put the pins in for the on/off times). The timer is a pain to manage because it drifts, doesn’t track the changing sunlight with the seasons, and gets off when the power goes out. It’s also the only way to control these lights (there’s no direct on/off switch).
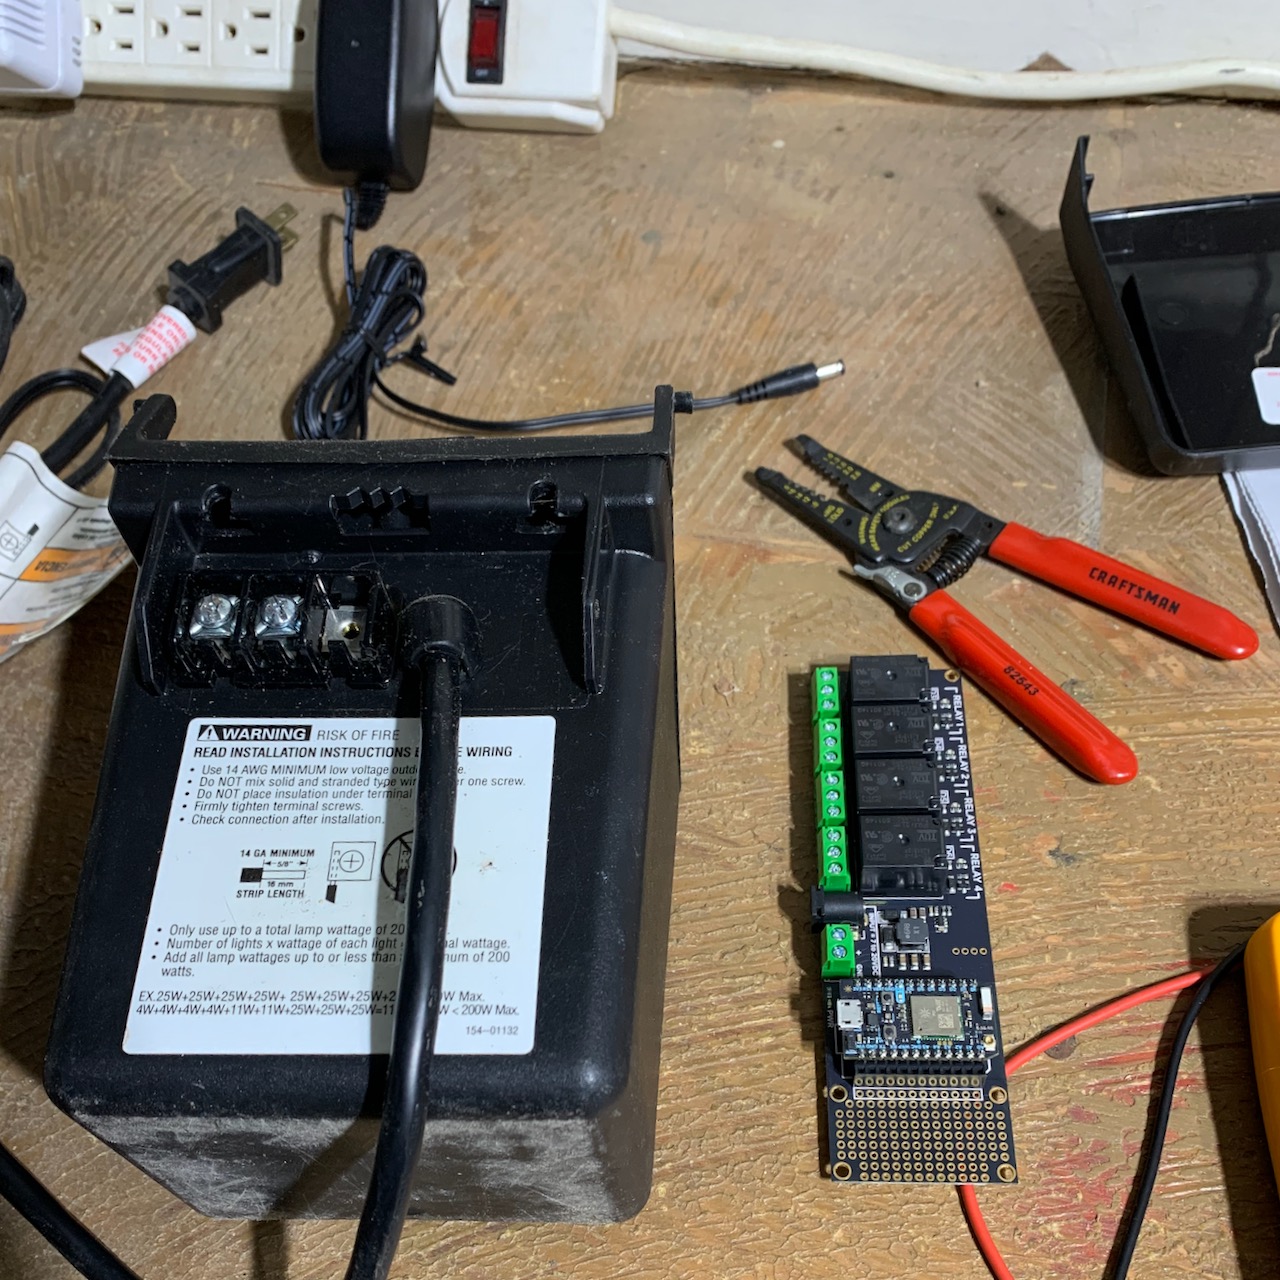
What I came up with is pretty neat. I had a Particle Photon lying around along with a relay shield that I just wired into the circuit to control the landscape lights. These Particle chips are pretty awesome: essentially a microcontroller but connected to Particle’s cloud so you can centrally manage and program (plus they sort out the WiFi setup for you which is often a bit of a pain on microcontrollers).
Details and setup
I took the transformer and put one of the relays in the circuit so that it can be controlled by the Photon and then took the pins out of the rotary dial and just left it in the on position.
Then I wrote a bit of code for the Photon to turn on/off the relay and talk to the Home Assistant over MQTT. The later is what took the most setup.
Steps:
- Install MQTT integration in Home Assistant
-
Install mosquitto on the pi:
pi:~ $ sudo apt-get install -y mosquitto mosquitto-clients # here's how you'd test subscribing/publishing pi:~ $ mosquitto_sub -v -t home/topic_name pi:~ $ mosquitto_pub -t home/topic/light -m 'turn on' - Program the Photon to be a MQTT discoverable device. This is the interesting part so go check out that code. You’ll need to include the MQTT library in your particle project to get things to compile.
-
Add this to
configuration.ymlin Home Assistant:mqtt: discovery: true discovery_prefix: homeassistant
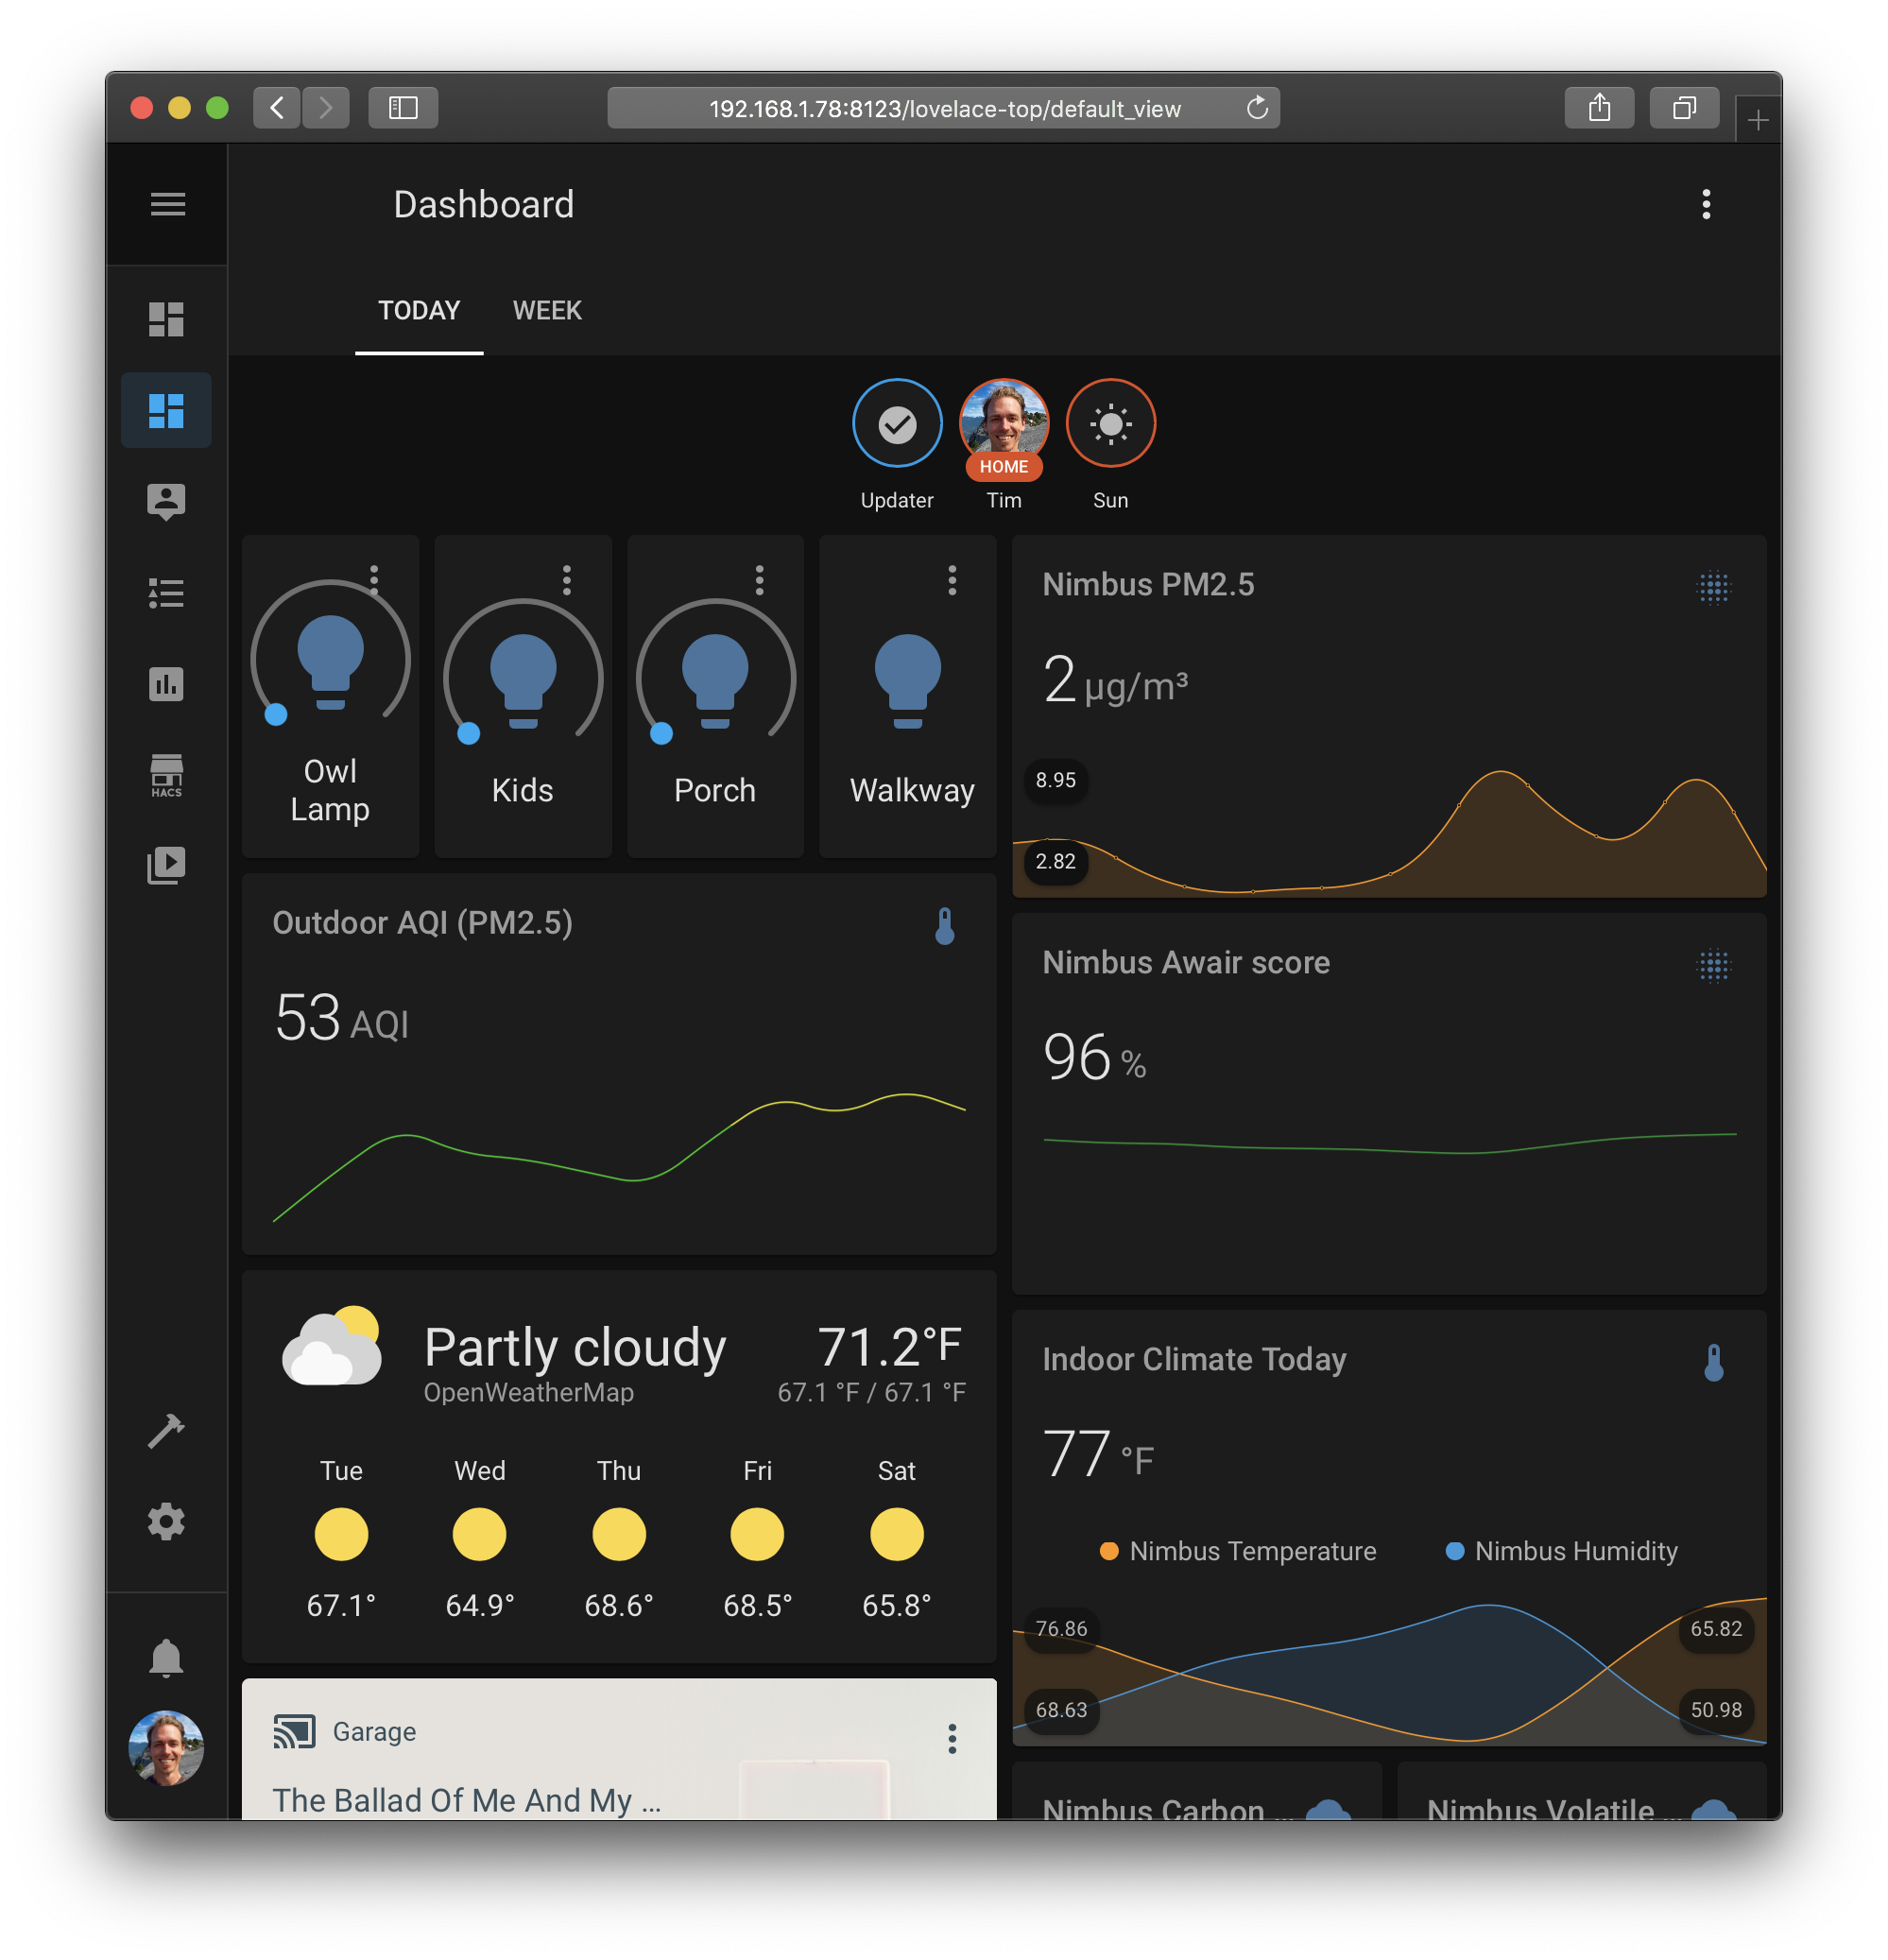
Now, in Home Assistant the front lights just show up like another light entity and can be toggled on/off or included in automations. I have a single automation that turns all the outdoor lights on about 10 minutes after sunset.
Here’s the final hardware setup mounted with software up and running on the Photon.
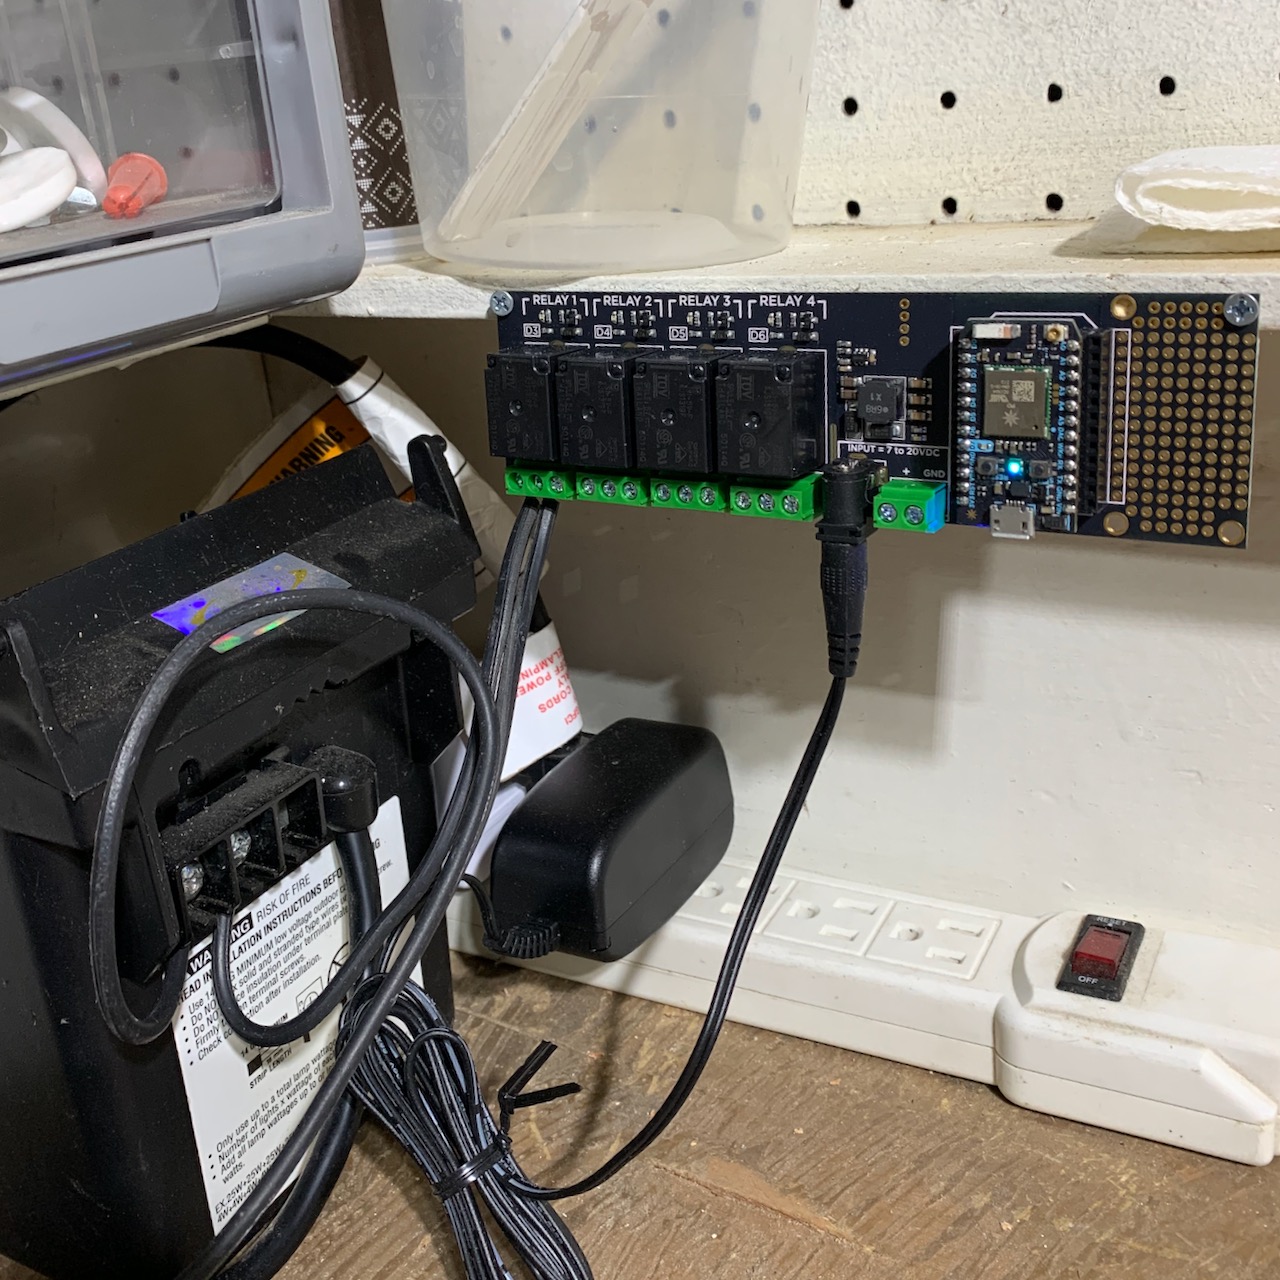 (What am I going to do with all those extra relays?!)
And here’s what it looks like from Home Assistant (the Walkway light is the Photon-enabled front lights).
A few extra notes:
- The Photons, like many IoT devices and microcontrollers operate on 2.4GHz, but modern WiFi routers often want to “upgrade” them to 5GHz. I had to set my router to force the Photon’s MAC address to only use the 2.4GHz radio because otherwise the device would intermittently lose connectivity.
- I’ve hard coded the IP Address of my Home Assistant server and also configured the router to give that device a static IP.